Auto Balancer


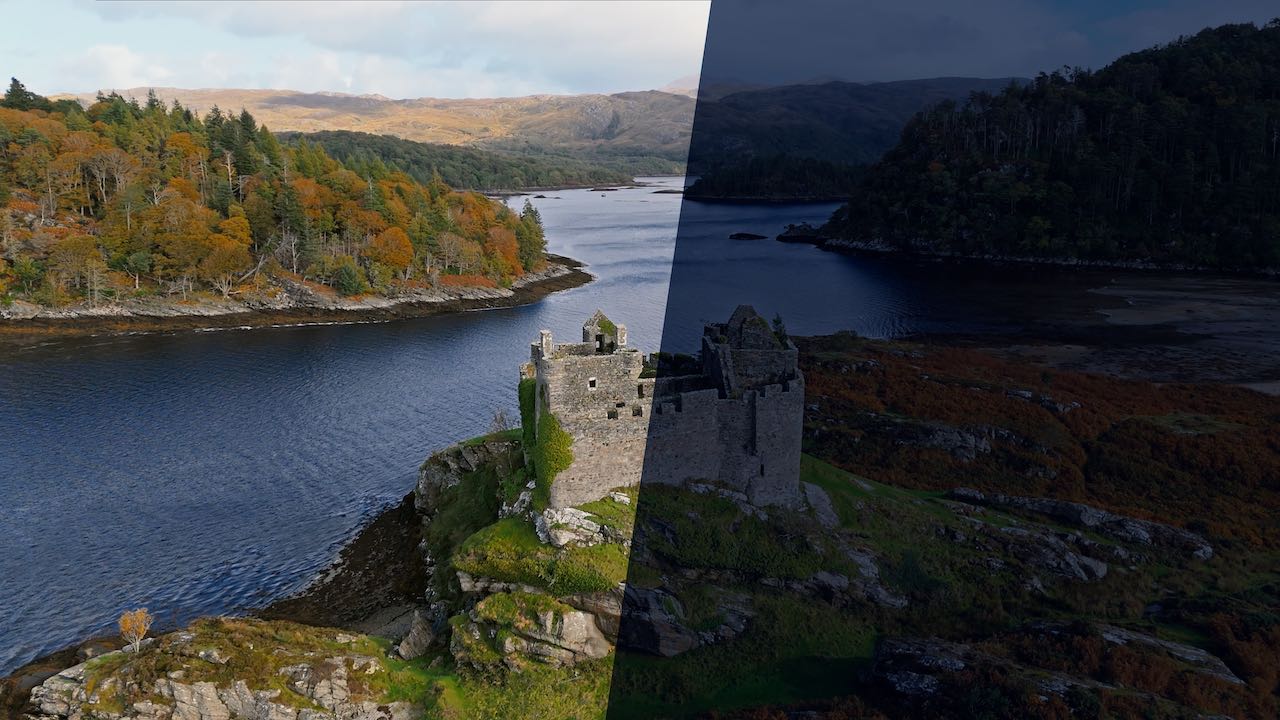
Auto Balancer helps you remove unwanted color casts and simulate different lighting conditions in post production by combining white point balancing, color temperature and tint adjustment in a powerful, intuitive plugin.

The plugin works through a two-step process:

  1. Adjust your video to have neutral lighting conditions, removing unwanted color casts.
  2. Use the temperature and tint controls to assign new lighting characteristics.

Automatic Color Balancing

Reference white and black points can be extracted from the full frame or by prioritizing the subject or background of your video through an AI-assisted algorithm.

Various methods to extract reference points

Various methods to extract reference points

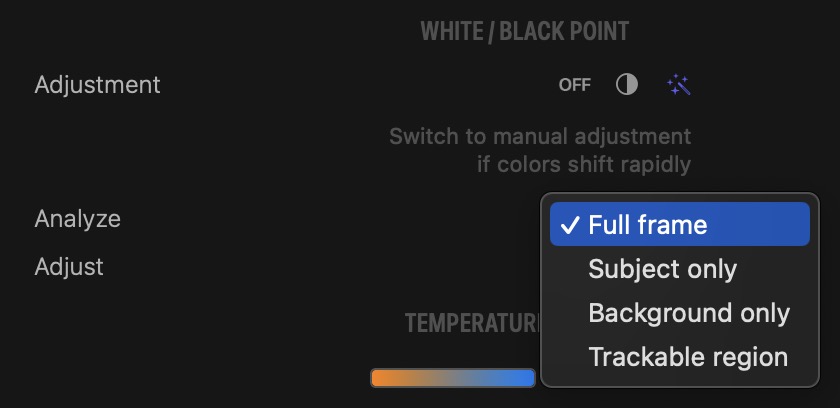
You can also extract reference points from a trackable region of your frame. In that case, the automatic balancing is based on the reference white and black points extracted from the object or person being tracked.

What if Automatic Color Balancing fails?

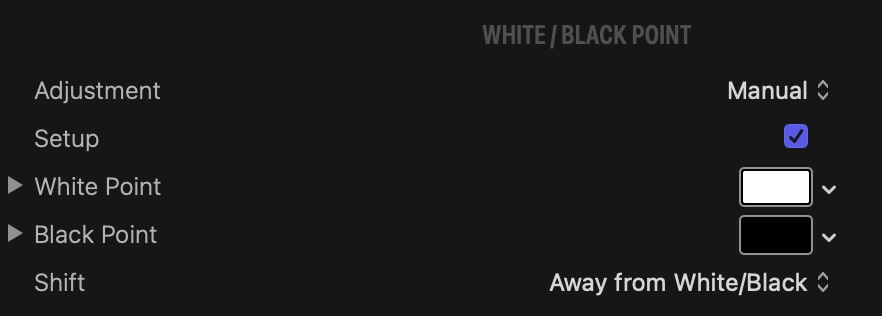
When lighting conditions in your video are changing too rapidly for automatic color correction, the Normalize parameter should be increased. This parameter will reduce the sensitivity of the algorithm and in most cases smooth out the results. Should that option fail too, manual configuration comes to the rescue. Pick arbitrary white and black points and adjust colors to be more neutral or more biased towards the given reference points. Auto Balancer helps you select the best reference white and black points by providing helpful hints on-screen.

Manual input of reference points

Manual input of reference points

Temperature and Tint

Color balance, temperature and tint adjustments are based on two controls that should be instantly familiar to videographers and photographers alike.

Temperature and Tint

Temperature and Tint

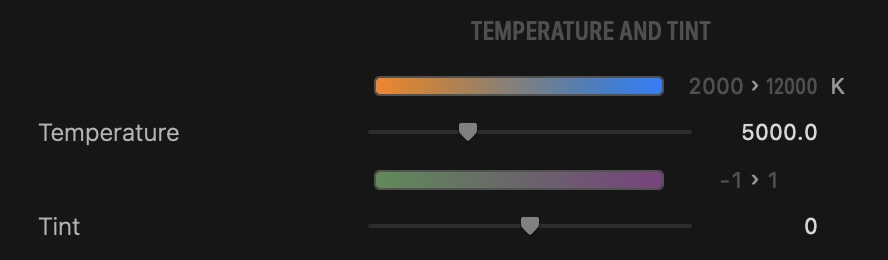
Temperature and tint are applied after white point adjustment. Whereas color balancing helps restore neutral lighting conditions to your video, temperature and tint give you the ability to select new lighting conditions.

Day and Night

Day and Night

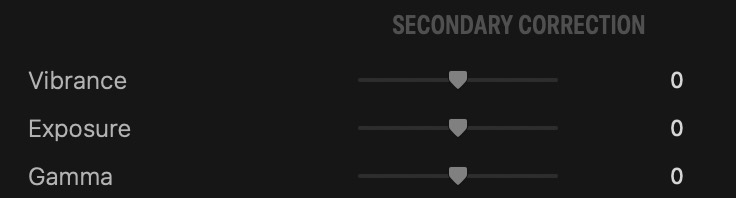
Secondary Color Correction

A few more popular filters round up the feature set to help you create a fantastic look.

Secondary color filters

Secondary color filters

Compatibility

Auto Balancer is compatible with Final Cut Pro, Motion, Premiere Pro and After Effects.

Parameters

Presets

Presets contain a snapshot of your effect configuration. 6 built-in presets are available.

When you save parameter configuration to a file on disk, this file can later be loaded to recreate the same effect configuration. Presets generated in one video application can be used by the same plug-in running in a different video application.

How do I use the presets popup menu?

White and Black Point

Adjustment

The following options are available:

Analyze

The following options are available:

Reference

The following options are available:

Normalize

Controls the sensitivity of the algorithm to the lights and shadows detected in the frame.

A higher value helps with videos that contain sudden shifts in lighting conditions. The downside is that the adjustment may be harsher.

A lower value helps with videos that have consistent lighting throughout, but with unwanted color cast.

When the output does not look correct on any value of the Normalize parameter, it is recommended that you switch the Adjustment parameter to Manual and select reference white and black points based on the most appropriate frame in the clip.

Setup

When enabled, a color swatch is displayed on screen to provide estimantes for the white and black points in the current frame.

Color swatch with recommended reference points

Color swatch with recommended reference points

Disable this parameter when you are ready to render the final output. This will prevent the color swatch from being burned in by accident.

This parameter is only available when Selection is set to Manual.

White Point

Desired white point upon which the color adjustment is based.

In most situations, it makes sense to use the color picker to pick the lightest color within your frame.

When the Setup parameter is enabled, a color swatch is provided on screen to facilitate your selection of a white point.

Black Point

Desired black point upon which the color adjustment is based.

In most situations, it makes sense to use the color picker to pick the darkest color within your frame.

When the Setup parameter is enabled, a color swatch is provided on screen to facilitate your selection of a black point.

Shift

The following options are available:

Trackable Region

Lets you track an object in your video. To learn more about object tracking:

Tracking Objects in Video

This parameter is available when Selection is Automatic and you’ve picked a trackable region as your anaylsis method.

When active, white and black points are extracted from the trackable region only.

Temperature and Tint

Temperature

Increase or decrease the color temperature of your image.

Tint

Push colors towards green or purple.

Secondary Correction

Vibrance

Apply a color vibrance filter. This effect is applied after all primary color corrections.

Exposure

Increase or decrease perceived exposure of your shot. This effect is applied after all primary color corrections.

Gamma

Recalibrates your color using a different gamma exponent. This effect is applied after all primary color corrections.