Caption Burner


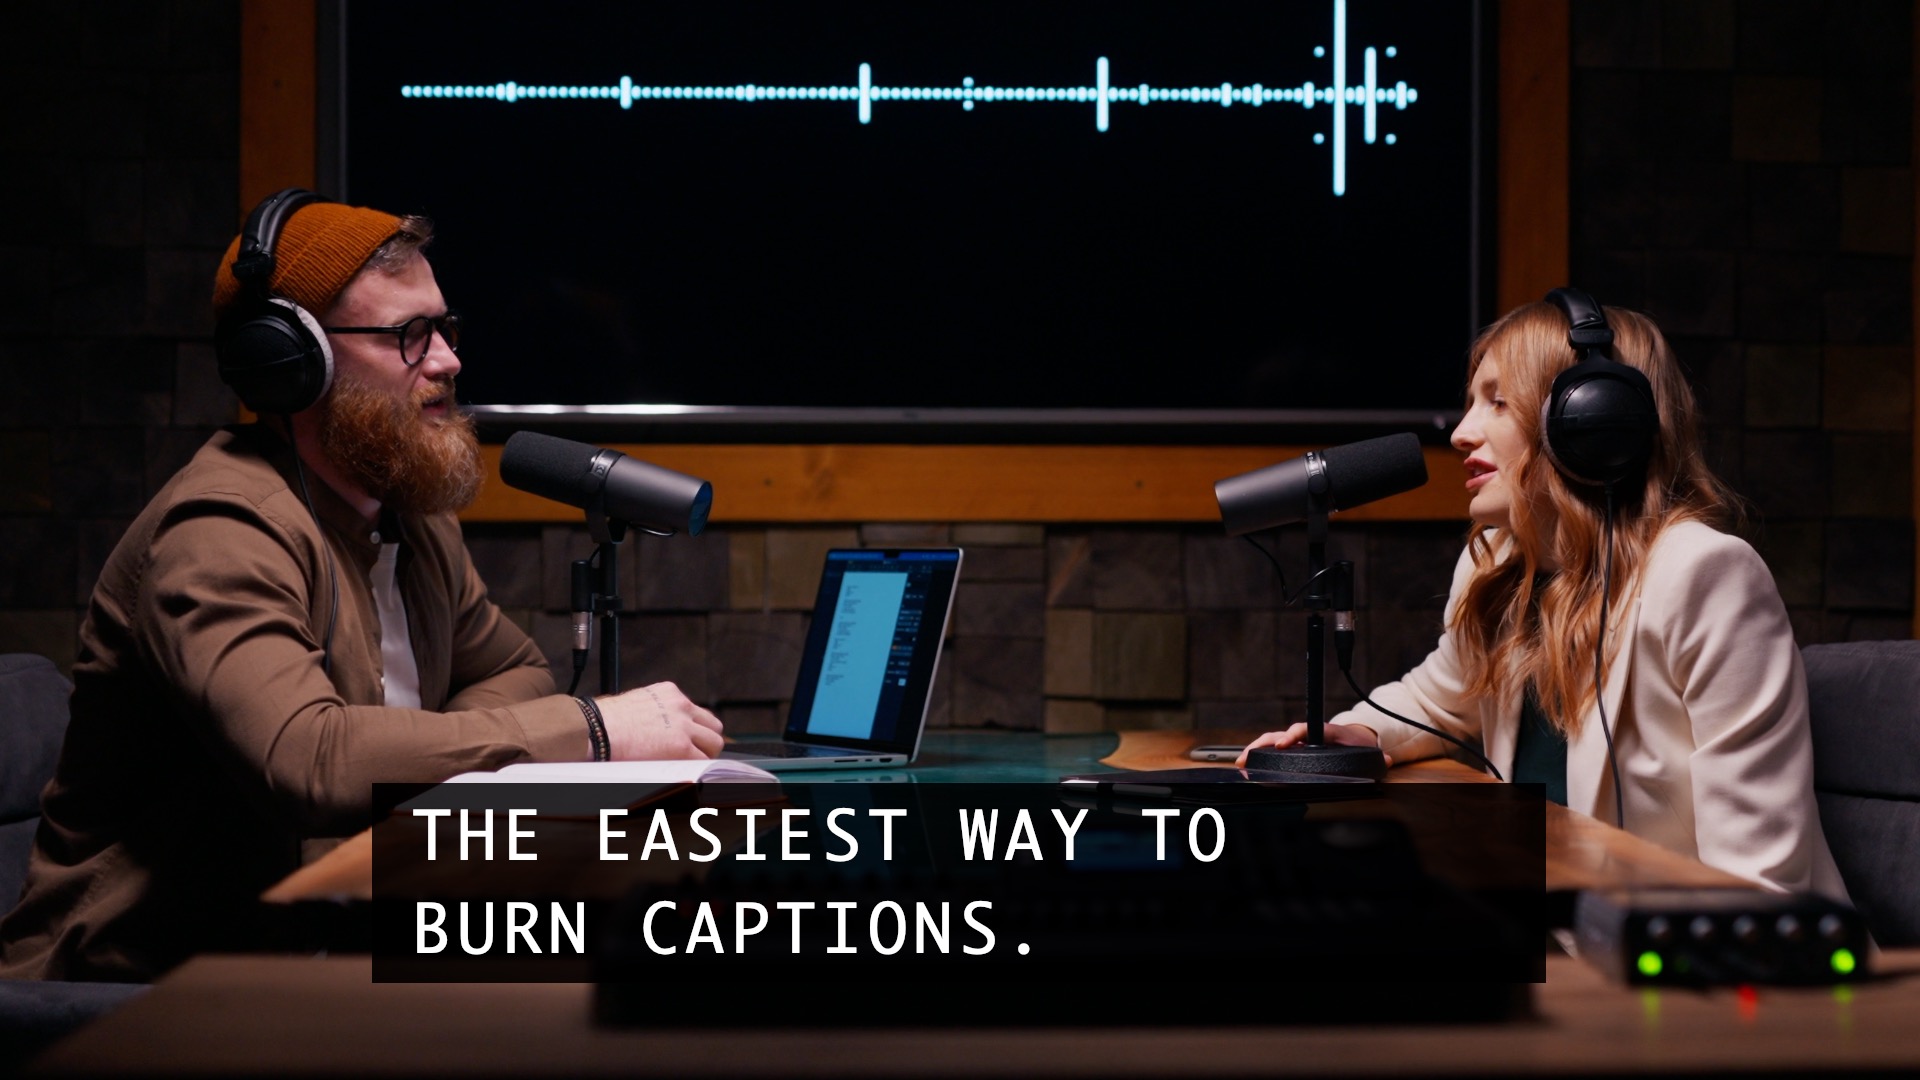
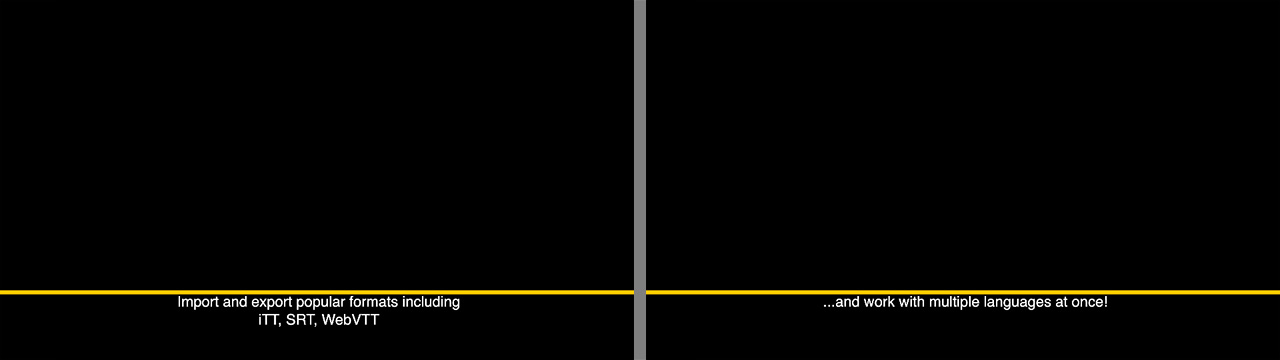
Caption Burner lets you import, edit and burn captions into video through an intuitive UI. Popular formats such as iTT, SRT, WebVTT and LRC are supported. Export captions to popular file formats for a smooth transition to other software.

What’s new in Caption Burner?

  • Added support for importing lyrics in the LRC file format, allowing you to translate enhanced word time tags into separate styles:


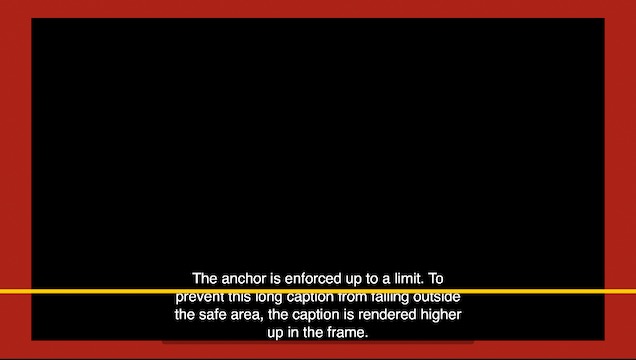
  • Added a new Layout parameter section where you can enable and customize a Top Edge Anchor. The new feature allows captions that would normally appear as far to the bottom of the screen as possible to be anchored to a fixed location. This improves readability when neighboring captions contain a different number of lines. Your viewers can start reading each caption at the same fixed location as the previous caption that appeared on screen:
Relative alignment preserved across captions

Relative alignment preserved across captions
The Top Edge Anchor only affects captions that would normally be aligned to the bottom of the Safe Area. Any captions that have a custom location on screen are unaffected, which means you can improve readability of your content without sacrificing flexibility.
  • New Effects parameters allow you you to fade captions in and out, appear into focus and disappear out of focus.
  • New Transitions parameters let you animate captions on and off the screen.

Quick Tips

Captions are burned according to their in/out timecodes. Sometimes it is necessary to shift all captions forward or backward in time when content has been added or removed from the beginning of the video. To shift all captions forward or backward in time it is not necessary to alter their timecodes (a time-consuming process). Instead, you can:

  • Specify the offset in time by entering a non-zero Offset. This timecode can be found and changed under the Timing section of the captions editing window.
  • In Final Cut Pro, you can simply shift the Caption Burner generator or title clip forward or backward in time.
  • In Motion, you can shift the Caption Burner generator layer forward or backward in time.
  • In Premiere Pro, make sure the Caption Burner effect is applied to a Transparent Black video clip that sits above other video clips on the timeline, and move the clip forward or backward in time.
  • In After Effects, make sure the Caption Burner effect is applied to a Solid layer that sits above your video, and adjust the layer’s in and out points accordingly.

Captions are burned only within the region of the frame defined by the Safe Area parameters. The default dimensions of the safe area in Caption Burner are appropriate for playback on TV, where overscan remains common. When outputting video for web platforms such as Instagram or Facebook, you do not have to account for overscan and thus you can increase the dimensions of the safe area up to 100% without risk of captions being cropped during playback.

Compatibility

Caption Burner is compatible with Final Cut Pro, Motion, Premiere Pro and After Effects.

Parameters

Captions

Lets you edit captions and subtitles used by the plug-in.

How do I edit captions and subtitles?

Click the Edit button to bring up the editing window:


The caption and subtitle editing window

Only captions for the active language are burned by the plug-in. When caption or subtitles are available in more than one language, you can select the active language via the popup menu in the parameter inspector.

Presets

Presets contain a snapshot of your effect configuration. 12 built-in presets are available.

When you save parameter configuration to a file on disk, this file can later be loaded to recreate the same effect configuration. Presets generated in one video application can be used by the same plug-in running in a different video application.

How do I use the presets popup menu?

Font

Font parameter set to Helvetica by default. The first popup menu allows you to choose a font family. The second popup menu allows you to choose a typeface among those supported by the font:


Font family and style

This font is used to render all your captions. Note that captions may alter the font by adding their own text formatting (bold, italic or underline). To make all captions appear bold or italic, make sure the font has a bold or italic variant and select it.

You can also ignore any styles associated with captions by turning on the Remove Bold, Remove Italic and Remove Underline parameters under the Text Formatting group. When doing so, all captions are rendered with a single font weight and style.

Font Size

Set to 22% by default.

Size of the font used to burn captions in the video. The size is expressed relative to the dimensions of the frame. This allows you to maintain the same appearance when rendering the same captions across different resolutions.

Text Formatting

The parameters in this section allow you to remove or override text formatting and styles associated with captions. When you override a particular setting with a new choice, all captions will be conformed to use your selection.

Remove Bold

Off by default.

Strip bold formatting from your captions. When you strip bold formatting from your captions, the font weight is based solely on the Font parameter.

Remove Italic

Off by default.

Strip the italic style from your captions. When you strip the italic style from your captions, the font style is based solely on the Font parameter.

Remove Underline

Off by default.

Strip the underline style from your captions. When you strip the underline style from your captions, the font style is based solely on the Font parameter.

Capitalize

Off by default.

Convert all lowercase characters to uppercase. This option only applies to languages based on Roman characters.

Realign

Off by default.

Force all captions to use a single alignment, as specified by the Alignment parameter below.

Alignment

A single text alignment to be used for all captions when the Realign parameter is enabled.

The following options are available:

Colorize

Off by default.

Force all captions to be rendered with a single color, as specified by the Color parameter below.

Color

Set to
white by default.
The unique color used to render all captions when the Colorize parameter is enabled.

Kerning Adjustment

Set to 0 by default. Only values between -100 and 100 are allowed.

Increase or decrease the space between each character. Increasing the kerning is desirable when using fonts that are not designed for video.

Line Height

Set to 100% by default.

Reduce the maximum space occupied by each line of text. This parameter can help you when the selected font devotes too much space to the line height, creating excessive separation from one line and the next. Please note that the amount of compression applicable to each line before cropping its glyps depends entirely on the font being used.

Line Spacing

Set to 2 by default. Only values between 0 and 1000 are allowed.

Increase the space between each line of text, regardless of the presence of explicit line-breaks (returns). When text is too long to fit within the horizontal space defined by the text box, it is automatically wrapped on subsequent lines.

Paragraph Spacing

Set to 0 by default. Only values between 0 and 1000 are allowed.

Increase the space between each paragraph in the text, i.e. line-breaks (returns) that were explicitly added in the caption text by the author.

Allow Ligatures

On by default.

Allow the selected font to use ligatures whenever possible. By default this parameter is off. A ligature is a single character that replaces two or more. It may look out-of-place when kerning adjustments have been made through the Kerning Adjustment parameter. Enable this parameter when using a font that supports ligatures and you do not require any kerning adjustments.

Horizontal Padding

Set to 0% by default.

Add extra empty space to the left and right of each caption. The additional space can be helpful in allowing diacritics, ligatures and marks to render correctly. These parameters are expressed relative to the font size. A value of 100% pads the output text horizontally or vertically by as many pixels as the current font size.

Vertical Padding

Set to 0% by default.

Add extra empty space to the top and bottom of each caption. The additional space can be helpful in allowing diacritics, ligatures and marks to render correctly. These parameters are expressed relative to the font size. A value of 100% pads the output text horizontally or vertically by as many pixels as the current font size.

Layout

Parameters in this group define the region in the video frame where all caption text is allowed to be rendered, as well as an optional anchor for captions that would normally be aligned as far to the bottom of the frame as possible.

The Safe Area for captions is similar in concept to the title- and action-safe areas used in broadcast to define regions of the frame where additional content should be rendered.

Positioning and alignment of each caption is performed only within the safe area. This allows you to quickly move all captions inward or outward within the frame, simply by altering the Safe Area Width and Height parameters.

The Top Edge Anchor may be used to improve readability of captions that do not contain the same number of lines. Whether your caption contains one, two or more lines of text, your viewers will find and read them at the same fixed location on screen.

Top Edge Anchor

By default, bottom-aligned captions are displayed as far to the bottom of the safe area as possible. This parameter lets you override this behavior. It lets you align the top edge of each caption relative to a layout guide, regardless of how many lines the caption spans.

This parameter only affects captions that are bottom-aligned. These are captions with their Vertical Position set to 100%.

Captions normally aligned to the bottom

Captions normally aligned to the bottom

Enable this parameter to display and customize the Bottom Anchor. When a bottom anchor is present, the top edge of bottom-aligned captions is aligned to its location. This creates a consistent appearance when a sequence of captions may alternate between one, two or more lines:

Relative alignment preserved across captions

Relative alignment preserved across captions

Note that if the caption spans more lines than the anchor allows, the caption will be pushed higher up in the frame.

The safe area has precedence

The safe area has precedence

Top Edge Anchor

A point parameter that can only be moved vertically. In supported hosts, this parameter is displayed as a divider in the Canvas.

Initial location in the frame
How do I adjust the location on-screen?

Safe Area Width

Set to 90% by default.

Width of the safe area, relative to the dimensions of the video frame. In most viewing contexts, a value between 80% and 90% is recommended.

Safe Area Height

Set to 90% by default.

Height of the safe area, relative to the dimensions of the video frame. In most viewing contexts, a value between 80% and 90% is recommended.

Safe Area Preview

Off by default.

When enabled, the safe region in the frame is outlined in red. Text appears only within the safe area. Only background boxes may overlap with the unsafe region,

Outline

Parameters in this group let you enable and customize an outline around every character drawn on-screen.

Thickness

Set to 0 by default. Only values between 0 and 10 are allowed.

Controls the thickness of the outline drawn around each character. On its default value of 0, no outline is rendered. Outlines are correctly supported only by a limited number of fonts. Choose the heaviest font weight to improve readability when an outline is present.

Color

Set to
black by default.
Color used to outline each character when Thickness is non-zero.

Outline Only

Off by default.

Force only the outline be burned into the video.

Drop Shadow

Parameters in this group let you add and customize a drop shadow behind every caption.

Drop Shadow

Off by default.

Adds a drop shadow to the text drawn for each caption.

If you are looking to add a drop shadow to the text box instead, please look for the Drop Shadow option and associated parameters under the Background group.

Radius

Set to 0% by default.

Controls the size and softness of the drop shadow.

Color

Set to
black by default.
Assigns a color and opacity to the drop shadow.

Offset X

Set to 0 by default. Only values between -1 and 1 are allowed.

Horizontal position of the drop shadow, relative to the caption that casts the shadow.

Offset Y

Set to -0.1 by default. Only values between -1 and 1 are allowed.

Vertical position of the drop shadow, relative to the caption that casts the shadow.

Background

Parameters in this group let you enable and customize the background box behind each caption.

Background

On by default.

Enable this parameter to fill the area behind each caption (on the default Location setting) with a solid or transparent color of your choice, to increase readability.

Location

The following options are available:

Color

Set to
black by default.
This color is used to fill the area behind each caption.

Rounded Corners

Set to 10% by default.

Control the roundness of the area behind each caption, to improve the appearance of your captions.

Margin Left

Set to 2% by default.

Control the amount of extra space added to the left edge of the background area. This parameter is only available when the Location parameter is set to Behind captions.

Margins do not affect the text content of each caption. To add extra space around the text, use the Horizontal Padding and Vertical Padding parameters instead, located under the Text Formatting group.

Margin Right

Set to 2% by default.

Control the amount of extra space added to the right edge of the background area. This parameter is only available when the Location parameter is set to Behind captions.

Margins do not affect the text content of each caption. To add extra space around the text, use the Horizontal Padding and Vertical Padding parameters instead, located under the Text Formatting group.

Margin Top

Set to 1% by default.

Control the amount of extra space added to the top edge of the background area. This parameter is only available when the Location parameter is set to Behind captions.

Margins do not affect the text content of each caption. To add extra space around the text, use the Horizontal Padding and Vertical Padding parameters instead, located under the Text Formatting group.

Margin Bottom

Set to 1% by default.

Control the amount of extra space added to the bottom edge of the background area. This parameter is only available when the Location parameter is set to Behind captions.

Margins do not affect the text content of each caption. To add extra space around the text, use the Horizontal Padding and Vertical Padding parameters instead, located under the Text Formatting group.

Start

A point parameter.

Initial location in the frame
How do I adjust the location on-screen?
The first of two points, which togeter define a fixed region within the frame where the background is drawn. This parameter is only available when the Location parameter is set to Custom location.

End

A point parameter.

Initial location in the frame
How do I adjust the location on-screen?
The second of two points, which togeter define a fixed region within the frame where the background is drawn. This parameter is only available when the Location parameter is set to Custom location.

Drop Shadow

Adds a drop shadow to the background box drawn behind each caption.

Note that if the background color is not opaque, the drop shadow may create a ghosting effect. It is recommended that the background Drop Shadow be applied only when the background Color is set to 100% opacity.

Radius

Controls the size and softness of the drop shadow applied to the background text box.

Color

Set to
black by default.
Controls the color of the drop shadow applied to the background text box.

Offset X

Horizontal position of the drop shadow, relative to the text box drawn behind each caption.

Offset Y

Vertical position of the drop shadow, relative to the text box drawn behind each caption.

Effects

Parameters in this group let you enable and customize a number of effects that are applied when captions animate on and off screen.

Range

A range that defines the duration of the effects applied to each caption, such as fade in/out animations and blurring. The range is not expressed in seconds. Instead, it is relative to the amount of time each caption is displayed on screen.

As an example, assume that captions are set to fade in and out of the screen. On its default settings, the range goes from 20% to 80%. This translates to 20% of the time spent fading the caption in, and another 20% of the time fading the caption out.

If the caption is set to be displayed on screen for 1 second, the default settings imply that the fade in and out animations last one fifth of a second each.

To disable the effects when a caption is appearing, set the range to start at 0%. Similarly, set the upper limit of the range to 100% to disable any effects applied to the caption as it disappears from screen.

Fade

Fade captions in and out of the screen.

The duration of the effect is relative to the amount of time the caption remains on screen, and may be customized through the Range parameter.

Defocus

When enabled, captions come into focus as they appear on screen, and go out of focus as they disappear.

The strength of the effect is controlled by the Amount parameter below.

The duration of the effect is relative to the amount of time the caption remains on screen, and may be customized through the Range parameter.

Amount

Controls the amount of blurring applied to each caption to make it appear out of focus.

Transitions

Parameters in this group let you enable and customize a transition used to animate each caption on and off screen.

Transition

The following options are available:

Range

Set between 20% and 80% by default.

The slider lets you pick a range between 0% and 100%. Click the numeric controls to type a value in.

A range that defines the duration of the transitions applied to each caption. The range is not expressed in seconds. Instead, it is relative to the amount of time each caption is displayed on screen.

As an example, assume that captions are set to slide in and out of the screen. On its default settings, the range goes from 20% to 80%. This translates to 20% of the time spent sliding the caption in, and another 20% of the time sliding the caption out.

If the caption is set to be displayed on screen for 1 second, the default settings imply that the transitions last one fifth of a second each.

To disable the transition in, set the range to start at 0%. Similarly, set the upper limit of the range to 100% to disable the transition out.

Direction

The following options are available:

Reverse

When enabled, the Direction of the transition is reversed when captions animate off screen.

As an example, if the current Transition is set to Slide and the current direction is Up, the caption will slide up as it appears on screen and slide back down as it disappears.

Start Scale

Each caption will appear by zooming in or out of the frame according to this parameter.

To have each caption zoom in as it appears in the frame, set Start Scale below zero.

To have each caption zoom out as it appears in the frame, set the Start Scale to a positive value.

End Scale

Each caption will appear by zooming in or out of the frame according to this parameter.

To have each caption zoom in as it disappears from the frame, set Start Scale below zero.

To have each caption zoom out as it disappears from the frame, set the Start Scale to a positive value.

Start Angle

As each caption appears in the frame, it rotates from the Start Angle to its expected position on screen. Leave the angle to 0 to disable rotation altogether.

End Angle

As each caption disappears from the frame, it rotates to the End Angle. Leave the angle to 0 to disable rotation altogether.

Motion Blur

Enables motion blur at different quality settings. The higher the quality, the more samples are used. Multiple samples are blended together to produce a single frame of output.


Multiple samples are combined to produce a single output frame with motion blur

Shutter Angle and Offset

The Shutter Angle slider controls the size (aperture) of the shutter used to simulate motion blur. The size of the shutter determines how long light is allowed to pass through the lens. The angle is set to 30° by default. A shutter angle of 360° means that samples are collected for the entire duration of the frame.
Setting a value of zero means that you want the shutter to collect light only once, which is equivalent to turning motion blur off.

The Shutter Offset slider controls the moment in time when the shutter opens and closes, relative to the duration of the frame. The offset is set to 0 by default. An offset of zero means the shutter is perfectly centered over the moment in time when the frame occurs. The shutter is therefore open an equal amount of time before and after the current frame occurs.

The Shutter Angle and Shutter Offset parameters are only available when motion blur is enabled.