
Press 1 to 6 to switch between the main tabbed views, where 1 selects Inputs, 2 selects Outputs, 3 selects Options, 4 selects the Library, 5 selects the graph Hierarchy and 6 selects the Console.
These shortcuts require the graph window to be active, and that no other control be handling keystrokes (click on an empty section of the graph, if needed).
The first three tabs display Inputs, Outputs and Options for the selected node only. When no nodes are selected, the UI displays Inputs, Outputs and Options for the container node, i.e. the node that hosts all nodes you see in the graph. Every composition has a root node, one that you cannot see but which contains the entire graph.
The Library, Hierarchy and Console sections are unaffected by the current selection.
Searching
Press command ⌘ F to activate the search UI within the active tab.
When the Inputs or Outputs tab is selected, you can search for any input or output ports that match the given text.
When searching the Library, you can find any nodes that match the given text. The search includes the node description, keywords or other hidden, internal details such as the Core Image filter names.
When searching the Hierarchy you can find any nodes in the graph that match your text. If you have customized a node’s title, you can quickly search for, and select, any given node:
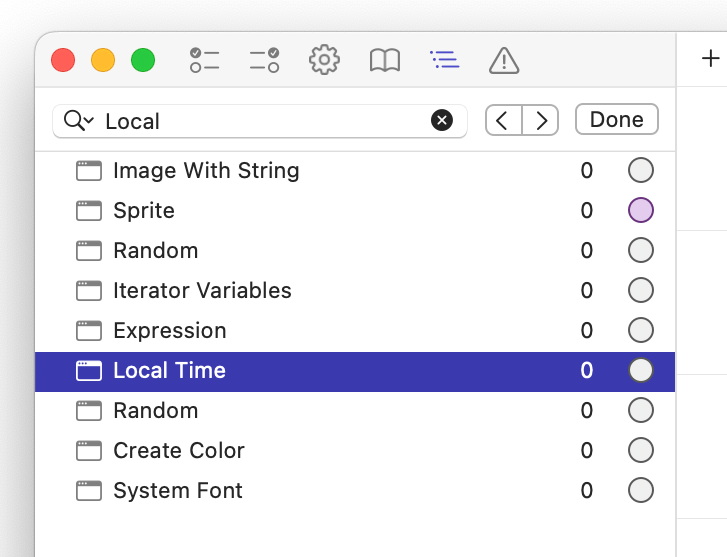
When a node is selected in the Hierarchy tab, the graph window will jump to that node and select it, making it easy to locate.
Press command ⌘ G to find the next match.
Library
In a nod to Quartz Composer, press command ⌘ return ⏎ to switch to the Library tab and activate the find UI, allowing you to search for specific nodes to add to the graph.
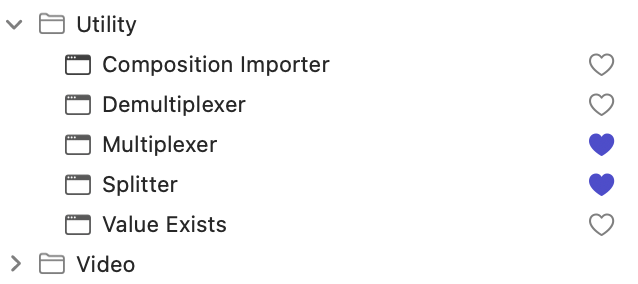
While browsing the Library, click the heart shape next to any node to make it a favorite:
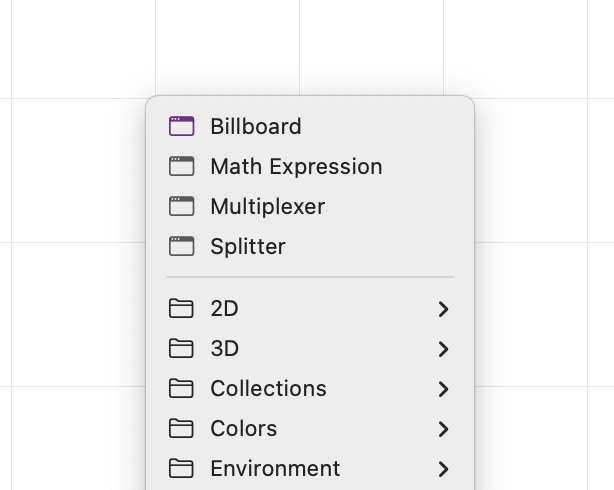
Favorite nodes appear at the very top of the contextual menu that you get when right-clicking on an empty section of the graph window:
Inputs & Outputs
Clicking on outputs always displays the current (computed) value. Clicking on inputs has a different effect depending on its current state and the modifier keys you hold down:
- If the input is not connected and no modifier keys are held down…
- …and the value is editable, a popover window is displayed. In some cases you can enter a new value directly. If the input is numeric and confined to a specific range, you can assign a new value through a slider.
- …and the value represents the location of a file or directory on the file system, a standard file selection dialog is displayed, letting you pick the location
- …and the value is a color, the system color picker is displayed. Any selection you make in the color picker is assigned to the input.
- …and the value is a font name, the font panel is displayed. Any selection you make in the font panel is assigned to the input.
- If the input is connected, and you hold down the shift ⇧ key, the input is disconnected.
- If you hold down the option ⌥ while clicking on the input…
- …and it was not already published, the input is published to its parent node. Hold down the command ⌘ key as well to publish the input recursively up to the root container.
- …and it was already published, the input is unpublished.
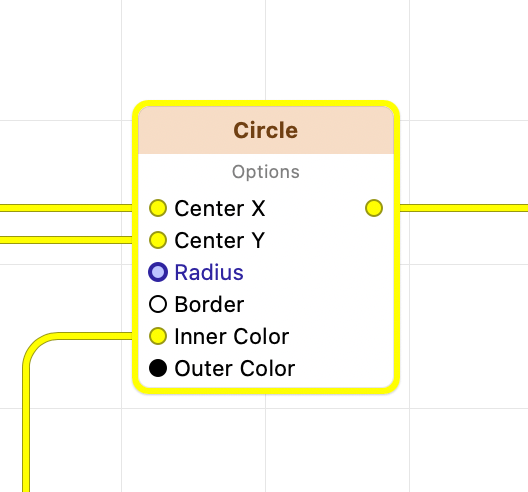
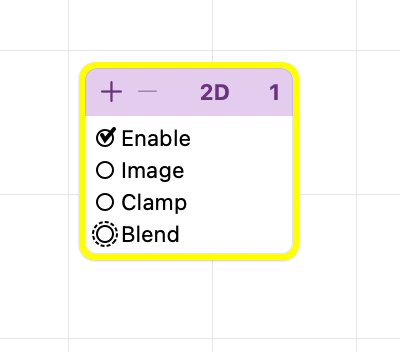
- If the input is not connected and you hold down the command ⌘ key while clicking on the input, it gets reset to the default value. This behavior is only available if the input value differs from its default. FxCore gives a visual indication of any inputs whose value can be reset.
 Resettable inputs
 - If the input is connected, clicking on it displays the last value computed upstream and fed to the input.
Publishing
Right-click on any input or output to a node to access a contextual menu with common commands, such as publishing the port recursively. Hold down the option ⌥ key to perform the same action for all inputs or outputs of the node. Hold down the shift ⇧ key to perform the same action for all siblings of the given input or output. FxCore considers two ports siblings if they are added as part of a single operation, such as when adding dynamic inputs or outputs to a port. One example of siblings is given by the Composite Stack node: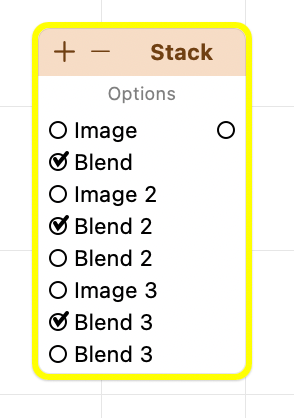
Batch-Renaming
A number of shortcuts to batch-rename inputs or outputs to a node are available under the contextual menu that lists actions for any given input or output. Some of these actions allow you to prepend, append or strip a given string from the title. Make sure a valid string is copied to the clipboard to make these commands available. Note that these text processing commands can be applied to all inputs or outputs to a node by holding down the option ⌥ key, or applied only to siblings of the port by holding down the shift ⇧ key.
Preview Window
Press the spacebar to start/stop playback. Press command ⌘ R to reset the animation time to 0. Press the ← and → arrow keys to move time forward or backward.
3D Camera
All shortcuts that control and reset the 3D camera are accessible and customizable through the Settings window. The 3D Camera affects only output generated by a 3D renderer, such as Sprite. The 3D camera has no effect on output produced by any Billboard node in the composition.
If the Allow scroll gestures to shift time forward or backward option accessible through the Settings widnow is on, you can also move time forward and backward simply by placing your mouse cursor over the output window and scrolling.
While scrolling, hold the shift ⇧ key to change time 10x faster. Hold down the option ⌥ key to change time 10x slower. This technique allows you to pinpoint specific moments of your animation for debugging.