Detecting Features in Video

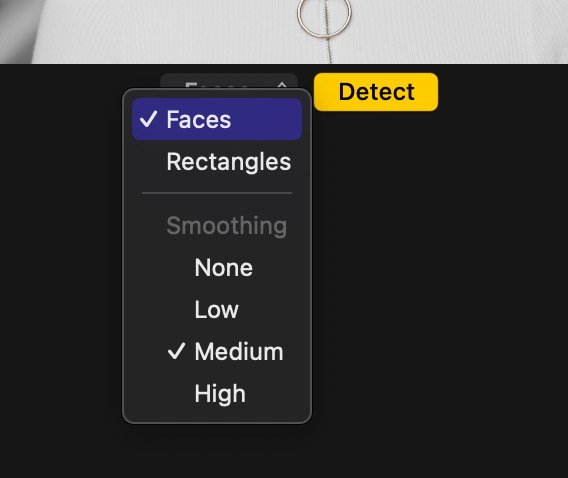
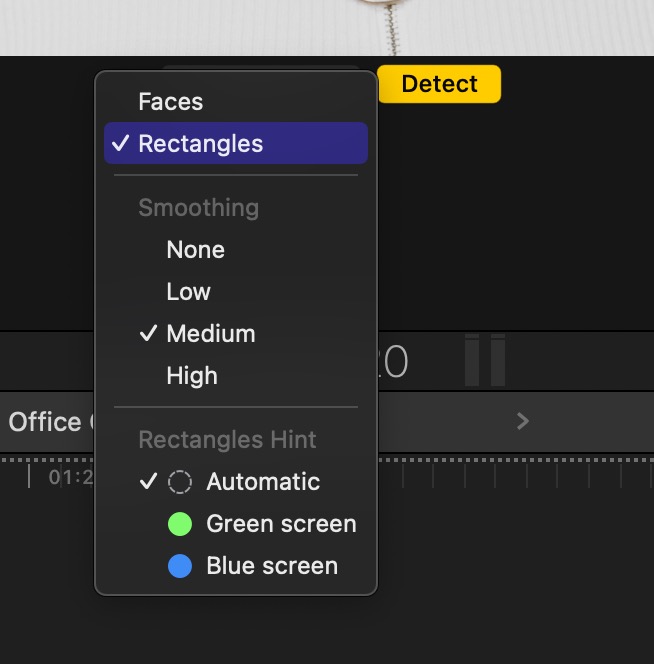
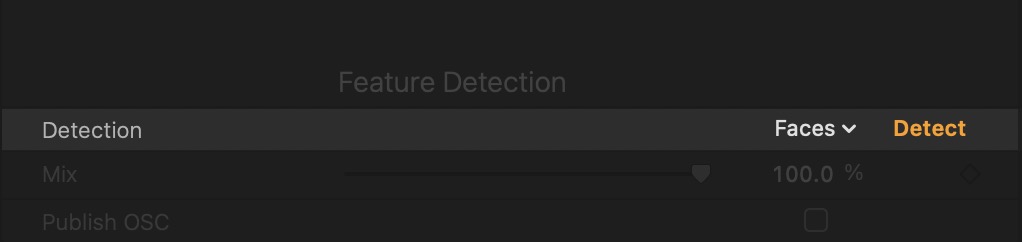
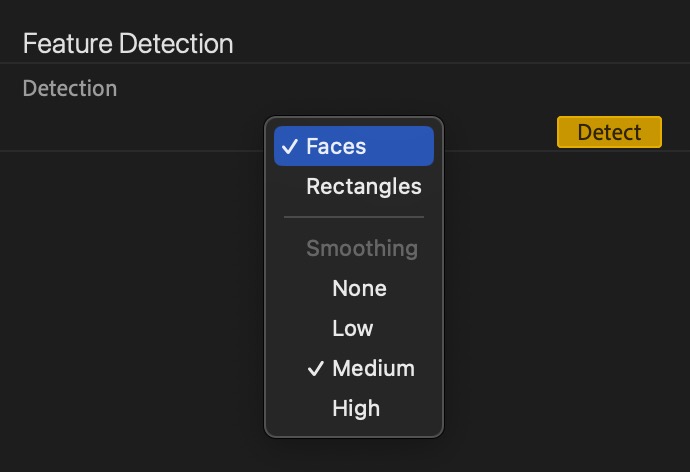
Feature detection is a powerful analysis technique that eliminates the need to manually identify and keyframe people and objects in your video. A plug-in may allow the automatic detection of Faces, Rectangles or Main subject, depending on its intended use.

Expect some plug-ins to give you the responsibility of choosing which features to detect. Others may be hardwired to detect a specific set of features, leaving you only the option of adjusting the sensitivity.

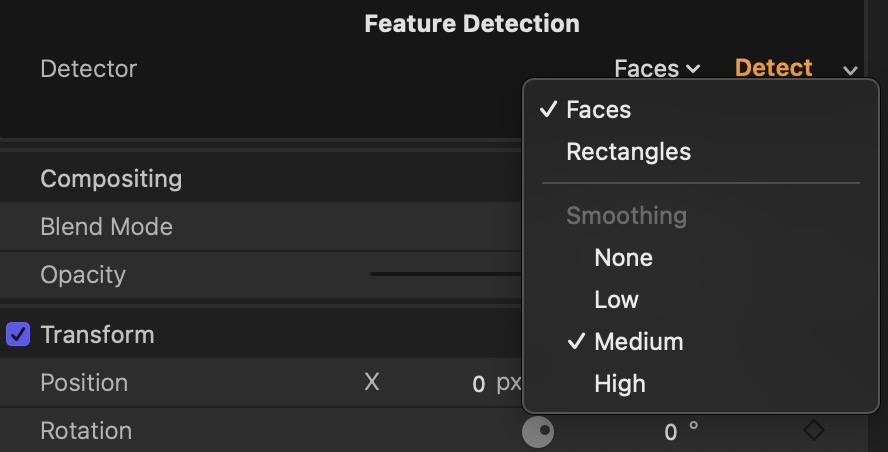
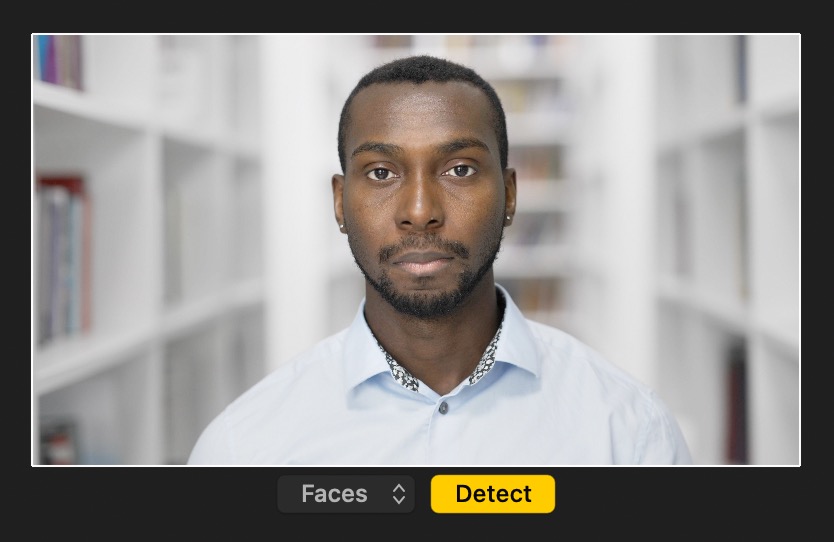
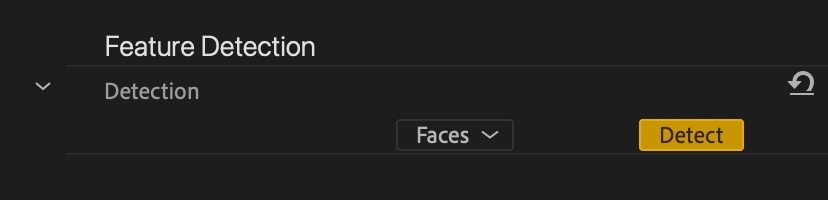
No matter which video app you are using, the Detect button appears in yellow if video analysis is required.

This is true in a number of situations:

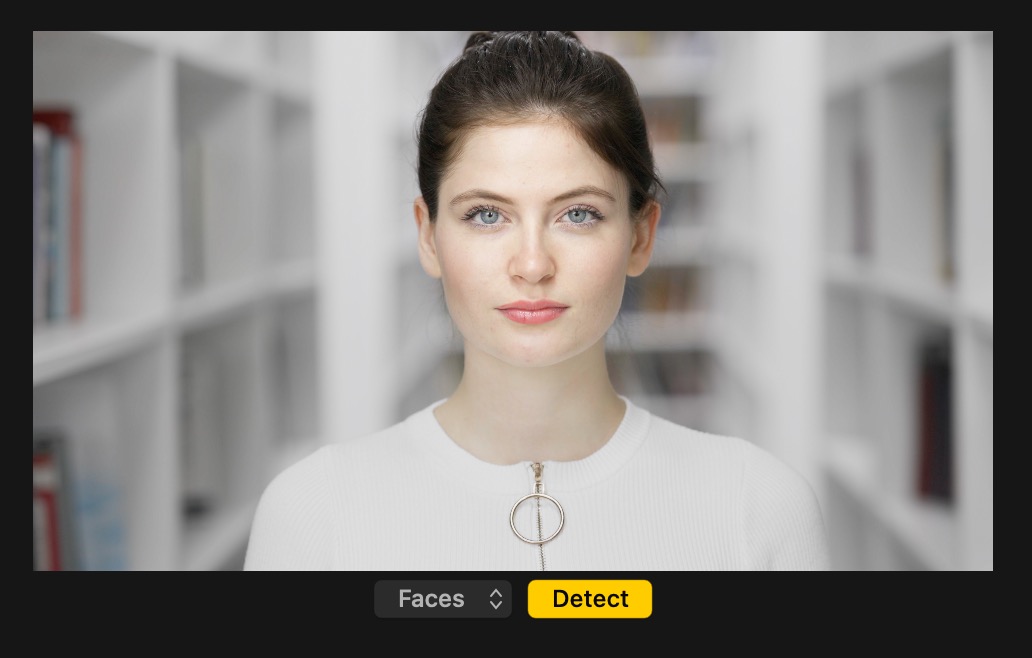
During video analysis a window reports on its progress and allows you to cancel the operation:


Face detection in progress

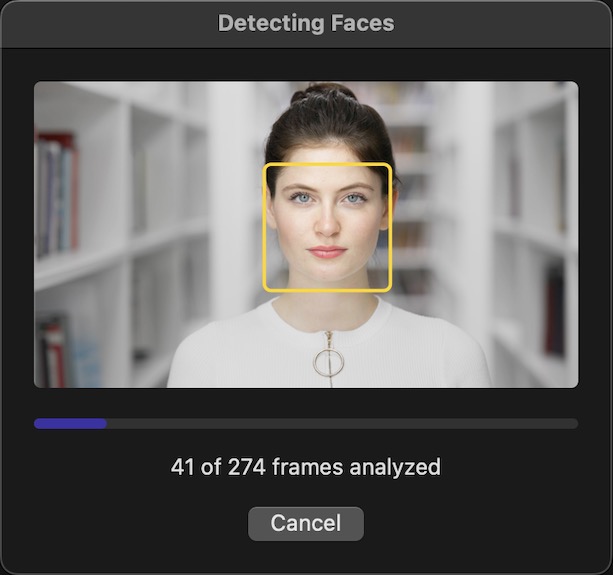
The window shows a live preview of the features that have been successfully identified in the given frame. If the analysis has failed to detect any feature with the desired accuracy, a warning will be visible:


Feature detection failure
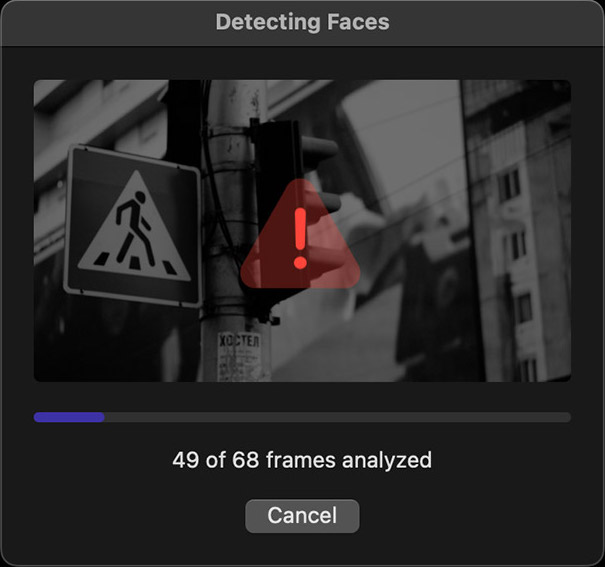
If the live preview shows few or no matches during analysis, click the Cancel button.

Sometimes you may increase chances of success by adjusting the available options, but there will always be video content unsuitable to automatic feature detection. In these situations you should rely on other approaches, such as using an object tracker to follow people or objects over the duration of the clip.

User Interface in Final Cut Pro

In Final Cut Pro, you can configure and start feature detection directly in the Canvas, through a set of on-screen controls:

If the plug-in allows you to select one or more features to be detected, they appear as the very first options under the menu:

The menu will also list any applicable options, such as Motion Smoothing and Rectangles Hint (the latter is available only if the parameter is configured to detect Rectangles.)

You may also access the feature detector in the parameter inspector, listed among all other parameters to the effect:

The same features and options are available under the parameter’s popup menu:

User Interface in Motion

In Motion, you can configure and start feature detection directly in the Canvas, through a set of on-screen controls:

The first on-screen control is a popup menu that lets you configure relevant options, such as Motion Smoothing and Rectangles Hint (the latter is available only if the parameter is configured to detect Rectangles.)

You may also access the feature detector in the parameter inspector, listed among all other parameters to the effect:

User Interface in Premiere Pro

In Premiere Pro, you can find the feature detection parameter in the inspector:

As in all other video apps, the Detect button will be yellow if the video clip needs to be analyzed.

All options relative to the current feature are available under a popup menu:

The menu shows all applicable options, such as Motion Smoothing and Rectangles Hint, which applies only when detecting rectangular features in your video.

User Interface in After Effects

In After Effects, you can find the feature detection parameter in the inspector:

As in all other video apps, the Detect button will be yellow if the video clip needs to be analyzed.

All options relative to the current feature are available under a popup menu:

The menu shows all applicable options, such as Motion Smoothing and Rectangles Hint, which applies only when detecting rectangular features in your video.

Motion Smoothing

Motion smoothing lets you eliminate any sudden jumps of the features detected by the plug-in. Smoothing to various degrees is desirable under most circumstnaces. The following levels are available:

Automatic face detection works best when people are facing the camera. If your subjects are moving quickly across the frame, and you would like the mask to closely follow their motion, reduce the Motion Smoothing level to Low. If faces in your video occasionally overlap, or if any objects temporarily cover a face, increase the Smoothing level to High to steady the mask.

Motion smoothing should be disabled only to preserve any fast, jittery camera moves in the original footage.

Gap Reduction

Gap reduction allows you to prevent temporary lapses in the detection of any given face or geometric feature begin tracked. For example, when a face is momentarily obscured by another person or object, gap reduction ensures that the temporary disruption will be ignored. The output will appear to smoothly track the face or object across its temporary disappearance from the frame.

Gap reduction may also guarantee more accurate results when working with lower quality videos, since the footage may present intermittent frames where faces or objects cannot be detected with any accuracy.

Gap reduction is recommended on the Low setting for most videos. Gap reduction will not be effective when the face or object being tracked is moving very quickly across the frame, or if the footage exhibits the artifacts of a long shutter, such as motion blurring.

Disable gap reduction when you wish to stop tracking an object any time it is obscured, or when it exits the frame.

Rectangles Hint

When the parameter has been configured to allow the detection of rectangular features in your video, a set of additional options under the Rectangles Hint section are available.

The rectangle detection process attempts to identify any number of objects from the real world that have a rectangular shape, such as street signs, billboards, computer or mobile device displays, televisions, or paper documents.

When your clip contains any rectangles that have been color-coded with green or blue, you can improve the accuracy by selecting the corresponding option:

Providing the correct hint can greatly improve the accuracy of feature detection:


Detecting a display keyed in green