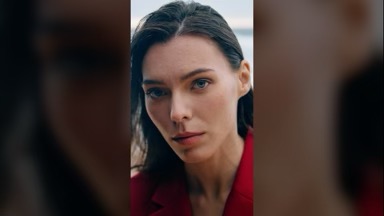
Quickly embed vertical videos in your timeline, extending and blurring content to fill the entire frame.
Since this plugin can extend any selection to cover the entire frame, it can be used with any combination of aspect ratios.
Portrait to Landscape is compatible with Final Cut Pro, Motion, Premiere Pro and After Effects.
Presets contain a snapshot of your effect configuration. 5 built-in presets are available.
When you save parameter configuration to a file on disk, this file can later be loaded to recreate the same effect configuration. Presets generated in one video application can be used by the same plug-in running in a different video application.
Working with the Presets MenuSet to 0% by default.
Build In/Out lets you enable and control animation progress.
When the animation is Off, no transition into or out of the effect occurs.
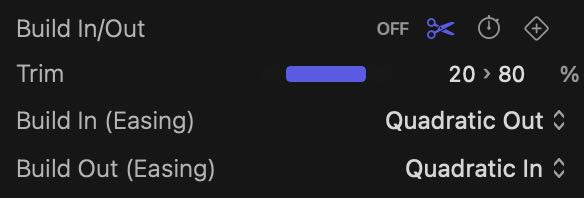
When the effect is set to build in and out by Trimming, the following parameters are displayed:
The Trim slider defines a range where the effect has been fully built. Any time outside this range is spent building the animation in or out. For example, if the Trim range is set between 20% and 80%, the effect builds in from the start of the clip up to 20% of its duration. The effects builds out from 80% to the end of the clip. If the clip were 5 seconds long, the build in and out animations last 1 second each.
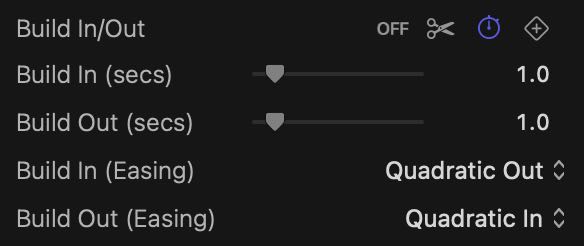
When the effect is set to build in and out through a Duration, the following parameters are displayed:
The Build In (secs) and Build Out (secs) give you an exact way to decide how long each animation should last. Should your selection not be applicable to the current clip, a warning will appear in the output. For example, if your clip lasts only 3 seconds, it would be impossible to have the build in and out animations both last 2 seconds each (as the total would be 4 seconds).
When the effect is set to build in and out through Keyframes, a single parameter is displayed:
The Build In (Easing) and Build Out (Easing) parameters let you choose the animation curve when animating by Trimming the clip or by specifying a Duration.
The Progress parameter gives complete control over the animation to you. You will need to keyframe the Progress parameter using features of the video app.
Enables motion blur at different quality settings. The higher the quality, the more samples are used. Multiple samples are blended together to produce a single frame of output.
The Shutter Angle slider controls the size (aperture) of the shutter used to simulate motion blur. The size of the shutter determines how long light is allowed to pass through the lens. The angle is set to 180° by default. A shutter angle of 360° means that samples are collected for the entire duration of the frame.
Setting a value of zero means that you want the shutter to collect light only once, which is equivalent to turning motion blur off.
The Shutter Offset slider controls the moment in time when the shutter opens and closes, relative to the duration of the frame. The offset is set to 0 by default. An offset of zero means the shutter is perfectly centered over the moment in time when the frame occurs. The shutter is therefore open an equal amount of time before and after the current frame occurs.
The Shutter Angle and Shutter Offset parameters are only available when motion blur is enabled.