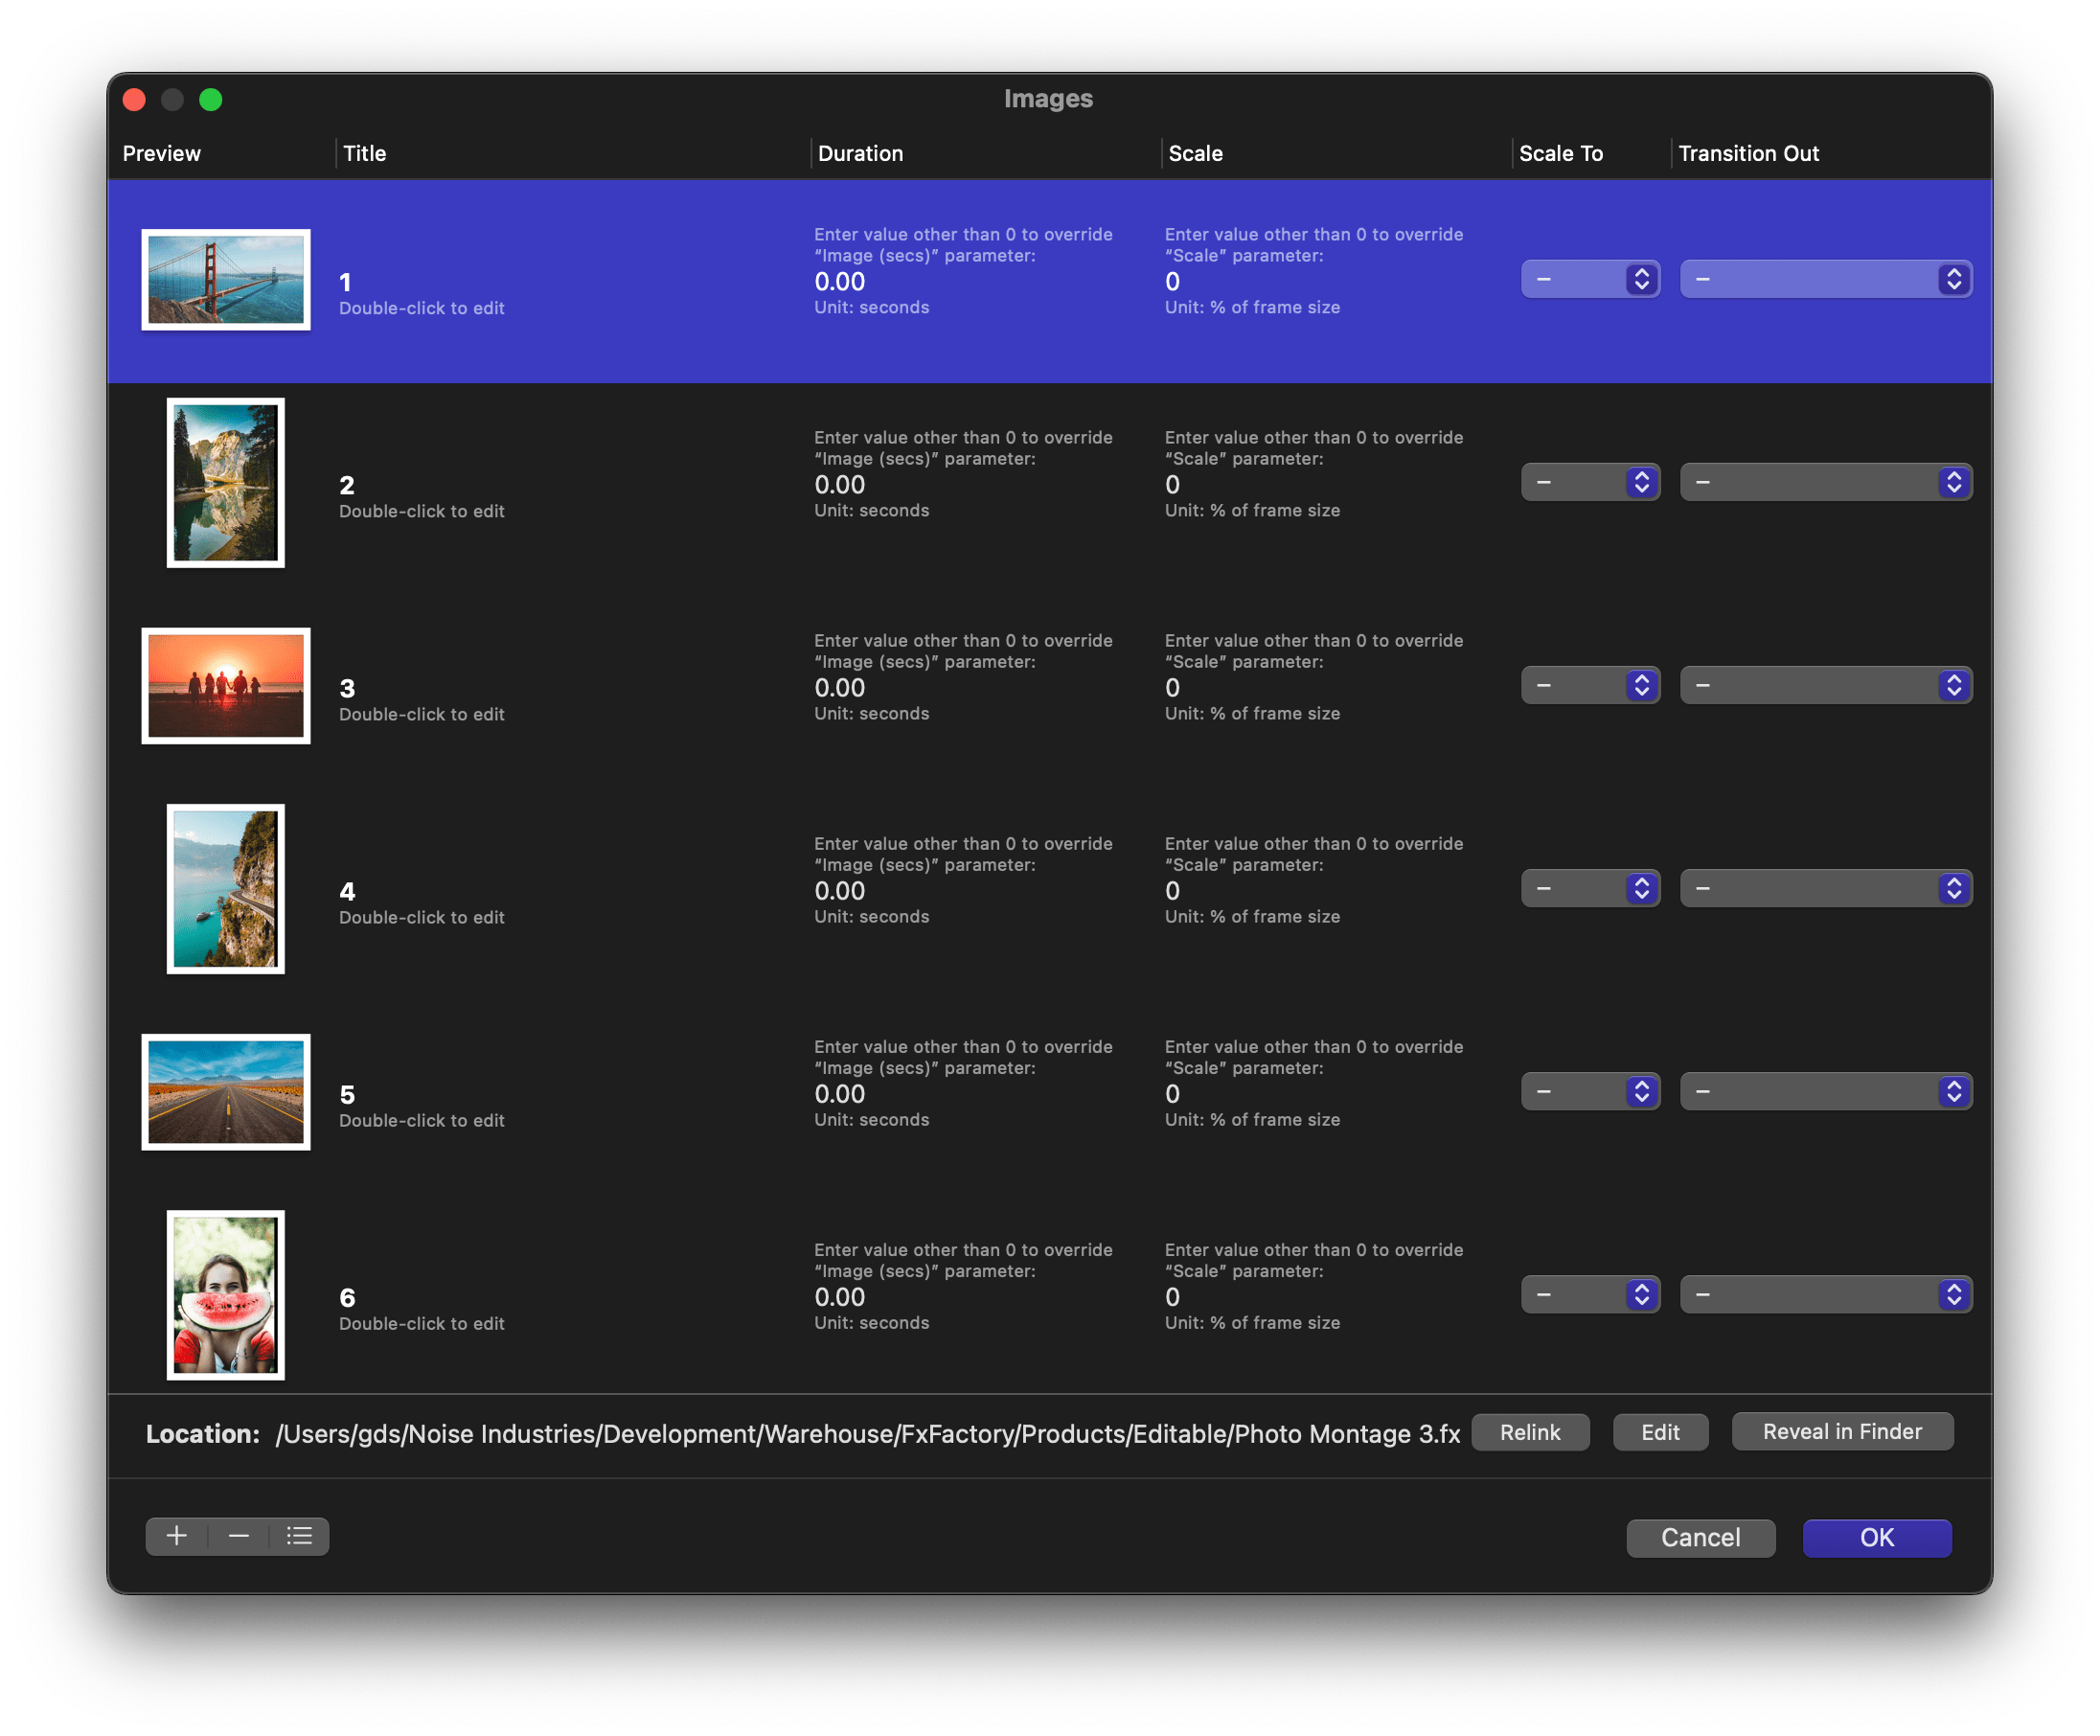
The image configuration window lets you add, remove and rearrange image files used by Photo Montage to produce the final output.
When using Photo Montage in Final Cut Pro, an additional sidebar in the window gives you immediate access to all libraries on the system, making it easier to build an animation from photos that you had previously imported: Importing Files From Final Cut Pro Libraries
Rearrange images by clicking and dragging them to the desired position in the list:
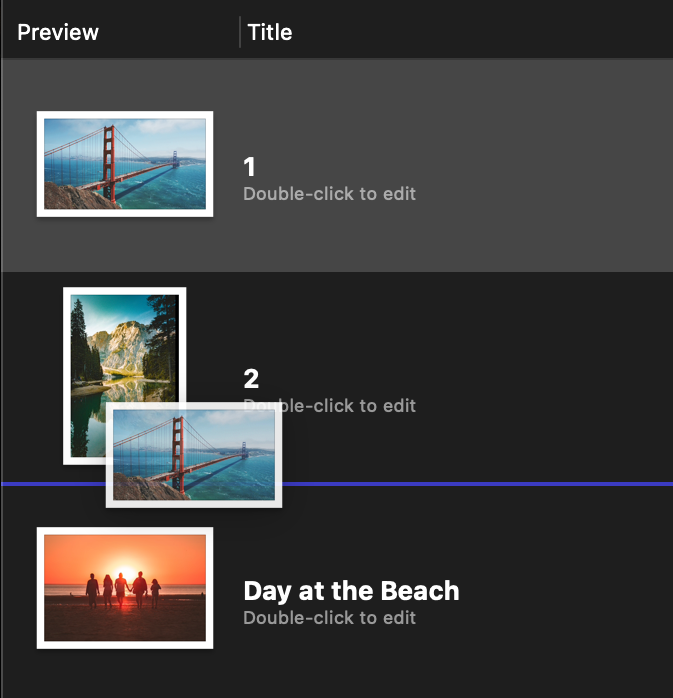
The order in which images appear in the list matches the order in which images are displayed in the final output.
Click the + button in the bottom-left corner of the window to select more files to be added to the list:

You may also add files by dragging them to the list from the Finder. To remove an unwanted file from the list, select it and click the - button.
Double-click the text under the Title column to customize it:
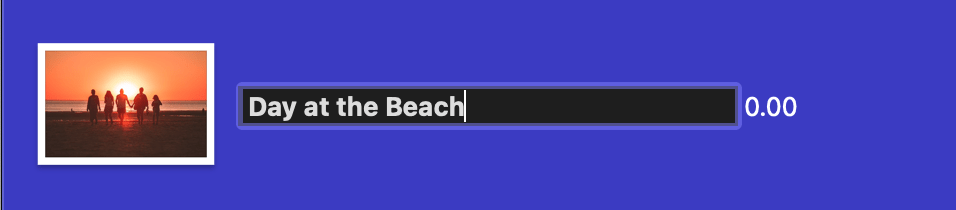
The default title comes from the file name. Any text you enter is displayed during the animation only when titles are enabled. The title is otherwise ignored.
To split your text on multiple lines, hold down the Option ⌥ key before you hit the Return key. Doing so will move your cursor to a new line rather than commit your changes to the title.
Image Duration
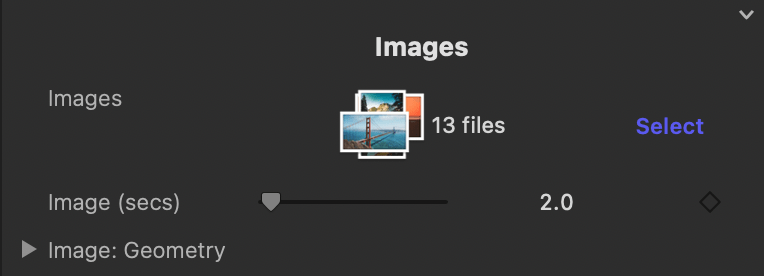
The Duration column expresses how many seconds each image remains visible before the transition to the next image begins. On its default value of 0, the duration is determined by the Image (secs) parameter:
By default the same duration is used for all images in the sequence. Enter a value other than zero to set a custom duration for each image:
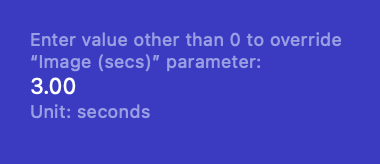
Image Scale
By default, all images in the sequence are scaled and cropped according to the Scale To and Scale parameters located under the Image: Geometry group:
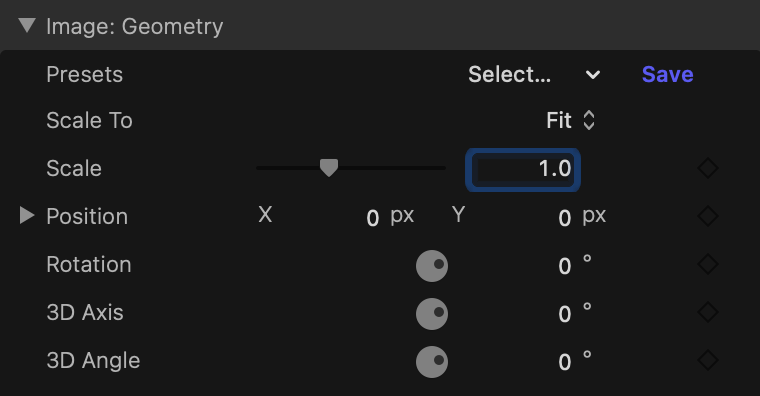
The Scale To and Scale values found in the configuration window allow you to override the default setting on a per-image basis.
Enter a value other than 0 to set a custom, initial scale for each image:
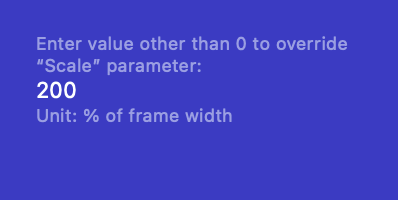
The scale value is expressed relative to the dimensions of the frame. Please note that other factors determine the actual size of the image, such as automatic Pan and Zoom and randomized geometry parameters.
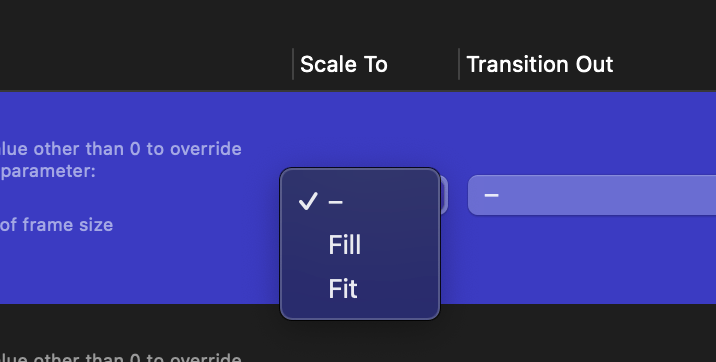
Change the Scale To to Fill or Fit to override the global option set by the Scale To parameter under the Image: Geometry group:
Customize the Transition
The Transition Out option allows you to pick the exact transition effect to use when animating from that image to the next in the sequence:
Leave this option as unspecified (–) and Photo Montage will pick a transition based on how parameters under the Transitions section in the inspector are configured.
How do choices I make in the inspector affect which transition is used?
When the Transition parameter is set to Randomize in the inspector, Photo Montage picks a transition at random among the ones you have enabled. The same Transition parameter also allows you to select a single transition to use for all images in the sequence.
With the above in mind, the Transition Out option in the image configuration window gives you fine control over the transition effect used for specific images in the sequence.