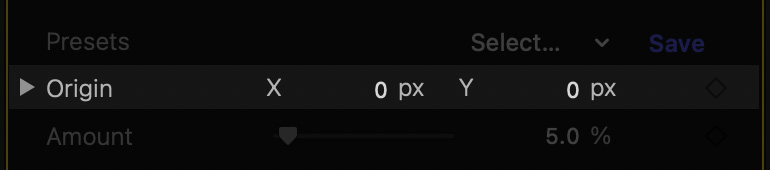
Final Cut Pro allows you to change the X and Y coordinates of a point through the inspector. You can either click over a coordinate and drag up or down, or click and release to enter a value through the keyboard.
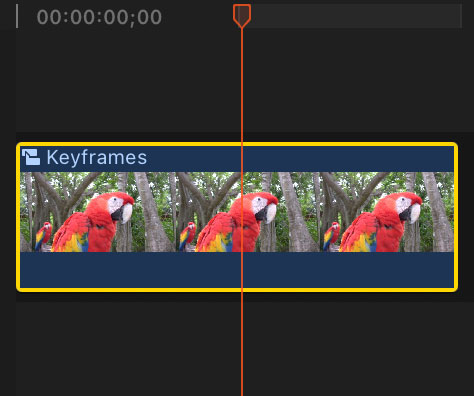
It is far easier to configure point parameters on-screen. Your first step is to make sure the clip is selected, and the playhead is positioned somewhere within its in/out points:
The above is enough to display on-screen controls for Generators, Titles and Transitions. When working with Effects applied to a clip, an extra step is required. Since multiple effects may be applied to the same clip, make sure the effect you wish to configure is selected in the parameter inspector:
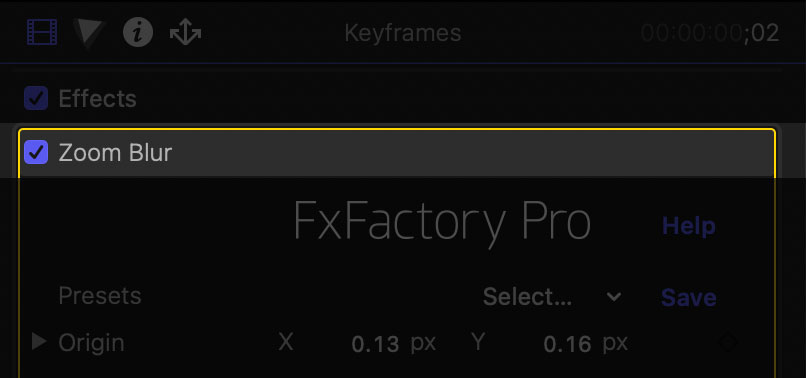
Effects are also known in video applications as filters. Contrary to Generators and Transitions, multiple filters can be applied to the same clip, in a stack.
Upon completing the above steps, an on-screen control becomes available for each point parameter you can adjust:

Click and drag the on-screen control to the desired location in the frame.
Please note that the size and color of the on-screen control may vary from one effect to the next. In some cases, a point may only be moved within a certain region of the frame, or it may only be moved along a given axis.
Tip:Hold down the Shift key to constrain movement to the horizontal or vertical axis. Hold down the Command ⌘ key to make smaller, more precise adjustments to the X and Y coordinates. Hold down the Option ⌥ key and click on the control to reset its location to the default X and Y coordinates.