Face Blur

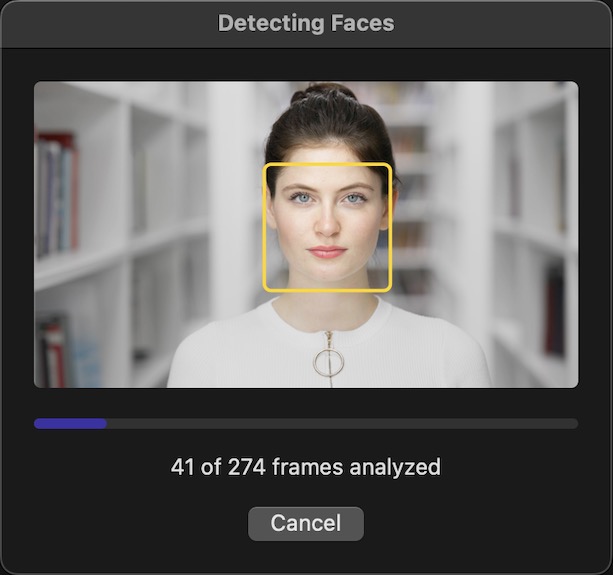
Face Blur automatically detects, blurs and pixelates any human faces in your video. Multiple faces can be detected at once in your video:


When the automatic detection does not work well enough, maybe because the video is low-resolution or extremely noisy, the companion Object Blur plug-in will help you track and blur objects across the frame.

Face Blur can blur or pixelate all of them simultaneously, or limit the effect to a specific face:

Blurring a specific face

Blurring a specific face

The selected area can be easily inverted to create vignette effects:

Vignette effect

Vignette effect

Face Detection Tips

Automatic face detection works best when people are facing the camera. When faces are moving quickly across the frame, and you would like to closely track their motion, reduce the Smoothing level to Low or None under the Detection parameter. If faces occasionally overlap, or if any objects temporarily obstruct a face, increase the Smoothing level to High to steady the mask.

Using Face Blur in Final Cut Pro

The Face Blur plug-in and its presets are available under both the Effects and the Title browsers. When using Face Blur through the Title layer, please repeat detection any time you reposition the title relative to the clips below.

Compatibility

Face Blur is compatible with Final Cut Pro, Motion, Premiere Pro and After Effects.

Parameters

Presets

Presets contain a snapshot of your effect configuration. 14 built-in presets are available.

When you save parameter configuration to a file on disk, this file can later be loaded to recreate the same effect configuration. Presets generated in one video application can be used by the same plug-in running in a different video application.

How do I use the presets popup menu?

Face Detection

Detection

Detects Faces in the source clip.

To begin analysis, click the Detect button. The button appears in yellow if no prior frame analysis step has occurred. A progress window will report any features that have been successfully detected during video analysis, and give you a chance to interrupt the process:


Feature detection in progress

Any time you resize the clip or change one of the detection options, please click the Detect button again to make sure the desired features have been detected for the given playback range and options.

To learn more on feature detection:

Detecting Features in Video

Select

Allows you to select which face(s) should be affected.

By default, the effect is applied to all faces detected in the footage. When more than one face is present, you can select it through this popup menu to limit the effect to that face.

Note that faces are ordered left-to-right, so that selecting the second face means that you want the second face from the left to be blurred or pixelated. If multiple faces are present at the same relative distance from the left edge of the frame, they are ordered top-to-bottom to ensure that an exact selection is always possible.

If any face in the video switches to a different position over the duration of the clip, please slice the clip in two where the switch occurs, and apply the effect to each half. This will allow you to select the correct face before and after its position has switched.

Confidence

Set to 10% by default.

Controls the senitivity of the face recognition.

When set to 100%, only faces that have been detected with the highest confidence are considered to be a match.

As you lower the confidence level, the plug-in will include faces detected with less confidence. This may be necessary if your source footage is particularly noisy or blurred.

Invert

Off by default.

When enabled, the effect is applied to the area around faces rather than to the faces themselves.

This parameter turns the plug-in from a tool that helps you conceal faces into a vignette filter.

When Invert is on, the plug-in turns from a tool that helps you conceal faces into a vignette filter.

Effect

Effect

The following options are available:

Style

The following options are available:

Amount

Set to 10% by default.

Controls the size of the blur or pixelation applied to faces.

Exposure

Set to 0 by default. Only values between -1 and 1 are allowed.

Adjusts the brightness of pixels within the selected mask, so that you may brighten or darken faces in addition to applying a blur or pixelation.

Shape

Shape

The following options are available:

Custom graphic

Reads an image file from the given location.

What image formats does this plugin support?

Lets you select a custom graphic that should be used as the mask for the effect.

This parameter supports all popular image file formats. The file should contain a black and white representation of your mask:

A star-shaped mask

A star-shaped mask

White pixels indicate areas the effect should be applied to:

Example of using the star-shaped mask

Example of using the star-shaped mask

Feather

Set to 0 by default. Only values between -1 and 1 are allowed.

Controls the softness of the current shape. Softness also applies to any custom graphic you may have imported.

Offset X

Set to 0 by default. Only values between -5 and 5 are allowed.

Allows you to offset the shape horizontally, relative to the location and size of each face.

Because the offset is expressed in relative terms, the results remain consistent as the faces move towards or away from the camera.

Offset Y

Set to 0 by default. Only values between -5 and 5 are allowed.

Allows you to offset the shape vertically, relative to the location and size of each face.

Because the offset is expressed in relative terms, the results remain consistent as the faces move towards or away from the camera.

Angle

Set to by default.

Allows you to rotate the mask shape relative to the face.

The natural tilt of each face is automatically detected. This parameter is designed to let you make some corrections when the automatic process has not been able to determine the tilt accurately.

Scale

Set to 1 by default. Only values between 0 and 2 are allowed.

Scales the shape proportionally, relative to the location and size of each face.

Because the scale is expressed in relative terms, the results remain consistent as the faces move towards or away from the camera.

Scale X

Set to 1 by default. Only values between 0 and 2 are allowed.

Scales the shape horizontally, relative to the location and size of each face.

Because the scale is expressed in relative terms, the results remain consistent as the faces move towards or away from the camera.

Scale Y

Set to 1 by default. Only values between 0 and 2 are allowed.

Scales the shape vertically, relative to the location and size of each face.

Because the scale is expressed in relative terms, the results remain consistent as the faces move towards or away from the camera.