All pixels
The effect is applied to all pixels in the underlying media, unless a specific mask shape has been selected.
Luminance range
Select a range of pixels based on their brightness.


The black and white gradient displayed in the inspector is not an accurate representation of the brightness range possible with your current sequence settings. The color space used by your timeline may not match the transfer curve of your Mac display. Moreover the same display may not have the ability to display luminance outside the standard range.
The Curve parameter plays an important role in definining how the range you have selected is interpreted:
- Linear: Increments along the range represent equal jumps in light intensity, as it might be recorded by a camera sensor. While this physically accurate method may seem like a good choice to select a brightness range, the human eye does not perceive brightness in the same way as a camera sensor. This selection method will only make sense in the context of specific workflows.
- Gamma 2.2: Light intensities are mapped to perceived brightness along a gamma-corrected curve with 2.2 exponent.
- Gamma 2.4 – default: The most widely used transfer curve to map light intensities to brightness as perceived by the human eye. The white point corresponds to the brightest pixels you can see in your SDR videos, usually at 100 nits. Because the gamma curve attempts to follow the eye’s response to light intensities, 50% gray is roughly perceived to be half-as-bright by the human eye as 100% white.
- PQ: A non-linear, non-gamma-corrected transfer function. This selection method is appropriate when your timeline uses a colorspace based on the PQ transfer function. It allows you to select pixels along the entire representable range.
- HLG: This selection method is appropriate when your timeline uses a colorspace based on the HLG piecewise transfer function. HLG maps the traditional 2.4 gamma curve to its own range, between 0% and 50%. Range values from 50% to 100% are meant to represent a sharpl increase from reference white (100 nits) to peak luminance (commonly 1000 nits). If your timeline currently uses an HLG-based colorspace, this method allows you select pixels along the entire representable range.

Color Key
Select a range of pixels through a keying algorithm.

Person contour
Select the main subject in the video frame through an AI-assisted algorithm. This feature works best with human subjects.


Object tracker
Select pixels by tracking one or more objects across the frame. The shape of each mask initially matches the rectangular selection of the object being tracked. It is possible to offset, scale and rotate the mask relative to the object. When a custom mask is enabled, the resulting shape is determined by its parameter configuration as well:
When tracking multiple objects across the frame, the same geometry parameters transform each tracked object:
In most cases, you will enable a custom mask to assign a different shape or gradient to each tracked object. This also allows you to assign custom graphics or titles to follow each object as it moves across the frame:
For additional instructions on object tracking:
Face detection
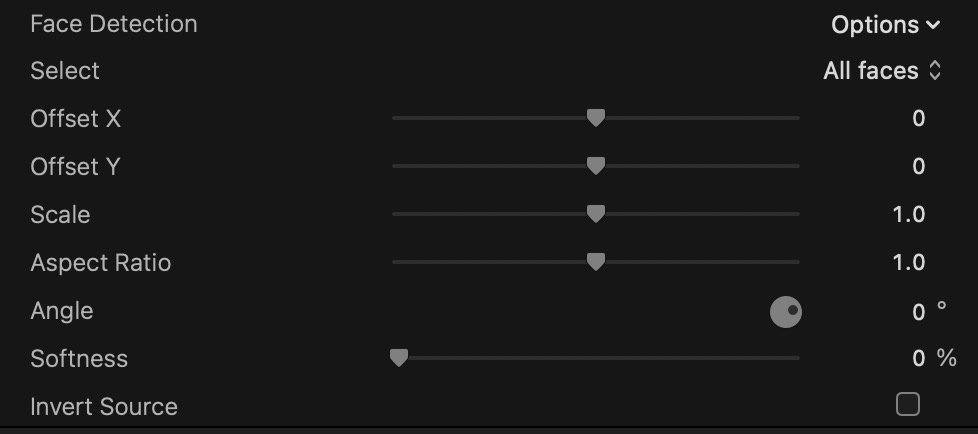
Select pixels by detecting the location of human faces and tracking them across the frame for the duration of the clip. At first, each face is masked by a circular shape. You can customize its scale, angle and softness.

The Confidence parameter allows you to fine-tune the result of face detection. The AI-assisted algorithm detects faces in your video clip with varying degree of confidence. When this parameter is set to 80%, only faces that are detected with a high degree of confidence are included when create a mask for the effect. When this parameter is set to 0%, anything that might possibly represent a face in the video clip is used.
By default, a separate mask is created for each face detected in the video, up to a maximum of eight. The Select parameter lets you create a mask for just one of the faces detected in the video. When a custom mask is enabled, its parameter configuration applies to each face. This allows you to have custom shapes and titles follow each face as it moves across the frame.

In the image above, there was no need to customize the angle so as to match the tilt in the subject’s face. The plug-in does that for you, automatically. When you specify a non-zero Angle, this is considered to be an additional offset. An angle of 90 degrees would allow you, for example, to maintain the oval shape perpendicular to the face. This is especially helpful when aligning titles and custom graphics.
For additional instructions on face detection: