Spot Light

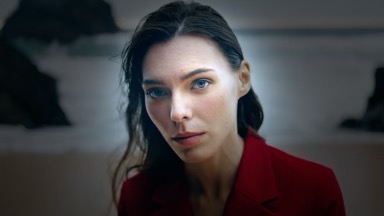
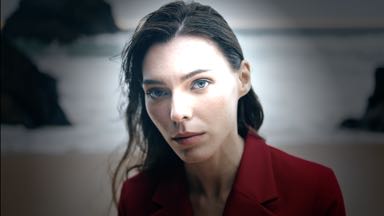
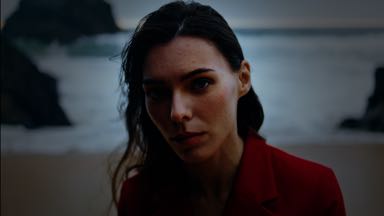
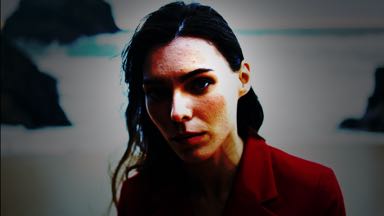
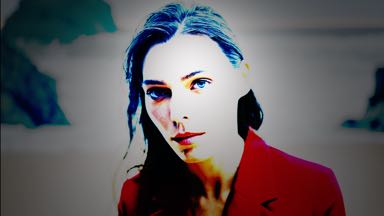
Applies up to four directional spotlights with animatable properties to your video. Object tracking or face detection can be used to link the location of each spotlight to an object or face in the scene, as it moves across the frame.

Compatibility

Spot Light is compatible with Final Cut Pro, Motion, Premiere Pro and After Effects.

Parameters

Presets

Presets contain a snapshot of your effect configuration. 22 built-in presets are available.

When you save parameter configuration to a file on disk, this file can later be loaded to recreate the same effect configuration. Presets generated in one video application can be used by the same plug-in running in a different video application.

Working with the Presets Browser

Spot Light

Setup

The following options are available:

Object Tracker

Lets you track up to 4 objects in your video. To learn more about object tracking:

Object Tracker

Face Detection

Detects Faces in the source clip.

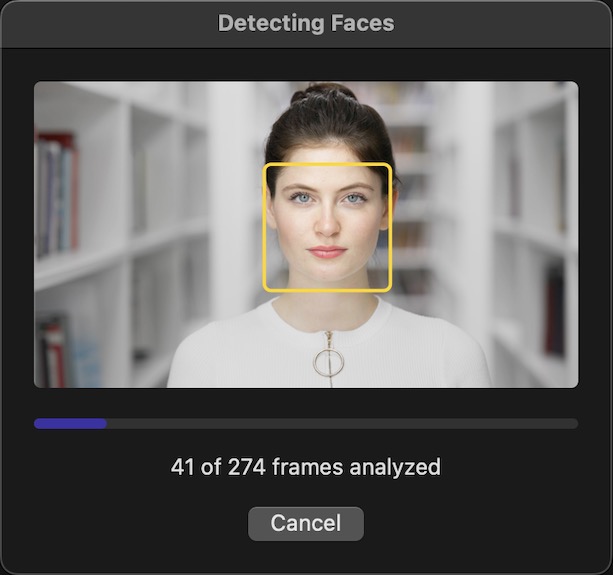
To begin analysis, click the Detect button. The button appears in yellow if no prior frame analysis step has occurred. A progress window will report any features that have been successfully detected during video analysis, and give you a chance to interrupt the process:


Feature detection in progress

Any time you resize the clip or change one of the detection options, please click the Detect button again to make sure the desired features have been detected for the given playback range and options.

To learn more on feature detection:

Detecting Features in Video

Confidence

A parameter that controls the sensitivity of the face detection algorithm. At 10%, the detection is very permissive, allowing faces that are detected with low probability. To reduce false positives, increase the Confidence level.

Hints

Displays light location in the frame when using an Object Tracker or Face Detection.

Make sure to turn this parameter off before rendering your final output.

Ambient

Brightness

Adjusts the brightness of the scene before lights are applied. It is common to dim the existing video so as to make spot lights more relevant in the output.

Temperature

Adjusts the color temperature of the scene before lights are applied. This allows you to turn an existing video into daytime/nighttime before lights are applied.

Light 1

Parameters in this section control properties for the first light. When multiple lights are enabled, you will see similar sections for each additional light.

Light 1

Turns this light on.

Position

A point parameter.

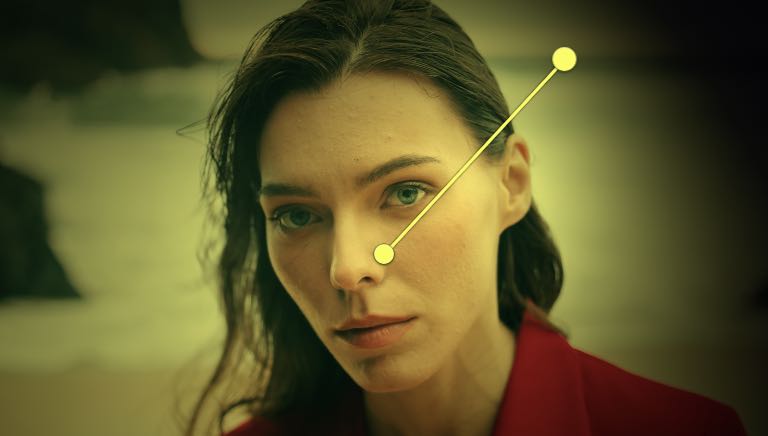
Initial location in the frame

While it is possible to change the X and Y coordinates via the inspector, it is far easier to interact with point parameters directly on-screen:

Adjusting Point Parameters in Final Cut Pro
Adjusting Point Parameters in Motion
Adjusting Point Parameters in Premiere Pro
Layer Selection in After Effects

Allows you to place the light within the frame.

This option is only available with Manual light placement. When using an object tracker or face detection, the location of each light is determined by the Angle and Distance from Target parameters.

Target

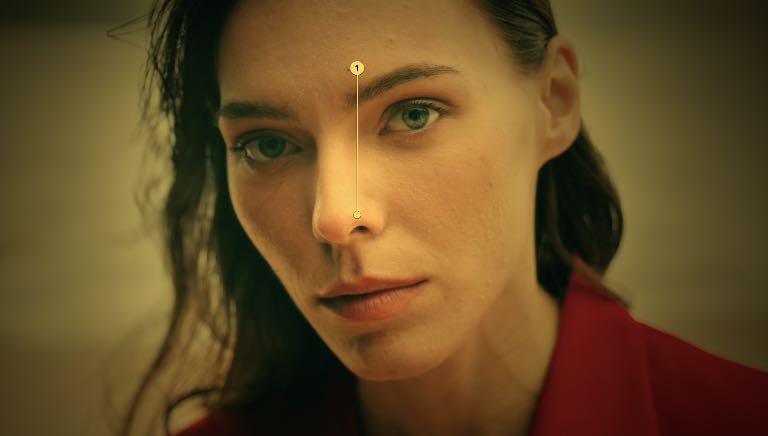
The location in the frame the light points at.

This option is only available with Manual light placement. When using an object tracker or face detection, the Target location is linked to the object or face.

Angle

When using an object tracker or face detection, this parameter defines the direction of the light relative to the object or face.

Distance from Target

Set to 20% by default.

When using an object tracker or face detection, this parameter defines the distance of the light from the object or face.

Color

Set to
81% red, 93% green, 100% blue, 100% alpha in the SRGB color space by default.

Brightness

Set to 25% by default.

Cone Size

Determines the shape of the light source.

Comparison of cone size, from small to large

Comparison of cone size, from small to large

Distance from Canvas

Controls the distance of the light from the video frame. Since each light is positioned in 3D space, a higher distance puts the light closer to the viewer. As such, the higher the distance, the larger the area that will be illuminated. The Cone Size parameter influences the shape of the area hit by the light.

Comparison of various distances for a light centered on the frame

Comparison of various distances for a light centered on the frame

Blend Mode

The following options are available:

Animation

Seed

A number that controls random aspects of the effect.

Click the New button to assign a new seed value. When the seed value is changed, the effect uses a different random sequence to produce a different output.

Build In/Out

Build In/Out lets you enable and control animation progress.

When the animation is Off, no transition into or out of the effect occurs.

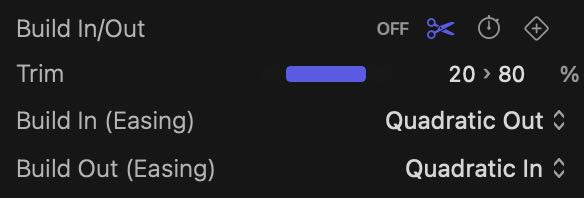
When the effect is set to build in and out by Trimming, the following parameters are displayed:

The Trim slider defines a range where the effect has been fully built. Any time outside this range is spent building the animation in or out. For example, if the Trim range is set between 20% and 80%, the effect builds in from the start of the clip up to 20% of its duration. The effects builds out from 80% to the end of the clip. If the clip were 5 seconds long, the build in and out animations last 1 second each.

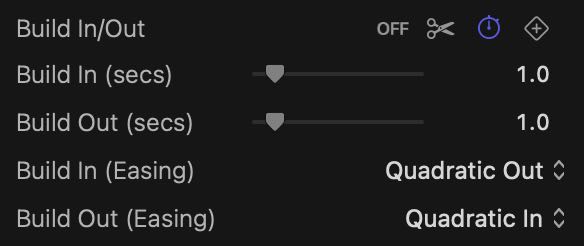
When the effect is set to build in and out through a Duration, the following parameters are displayed:

The Build In (secs) and Build Out (secs) give you an exact way to decide how long each animation should last. Should your selection not be applicable to the current clip, a warning will appear in the output. For example, if your clip lasts only 3 seconds, it would be impossible to have the build in and out animations both last 2 seconds each (as the total would be 4 seconds).

When the effect is set to build in and out through Keyframes, a single parameter is displayed:

The Build In (Easing) and Build Out (Easing) parameters let you choose the animation curve when animating by Trimming the clip or by specifying a Duration.

The Progress parameter gives complete control over the animation to you. You will need to keyframe the Progress parameter using features of the video app.

Animation: Light 1

Position 1

Turn this parameter on to animate the Position location for the corresponding light.

Position Animation

Target 1

Turn this parameter on to animate the Target location for the corresponding light.

Target Animation

Angle 1

Turn this parameter on to animate the Angle of the corresponding light.

It is only possible to animate the Angle when using an object tracker or face detection to automatically add lights to the scene.

Angle Animation

Distance from Target 1

Turn this parameter on to animate the Distance from Target of the corresponding light.

It is only possible to animate the Distance from Target when using an object tracker or face detection to automatically add lights to the scene.

Distance from Target Animation

Color 1

Turn this parameter on to animate the Color of the corresponding light.

Color Animation

Brightness 1

Turn this parameter on to animate the Brightness of the corresponding light.

Brightness Animation

Cone Size 1

Turn this parameter on to animate the Cone Size of the corresponding light.

Cone Size Animation

Distance from Canvas 1

Turn this parameter on to animate the Distance from Canvas of the corresponding light.

Distance from Target Animation